Today, we see a lot of choices when it comes to font selection. But, still the problem of font selection exists for making unique and beautiful interface. In case of font choice, less is more. So, you can install fonts on your PC and choice depends on your choice or clients’ requirements. It is necessary to use beautiful fonts to make unique and incredibly appealing typefaces.
Here are the steps to install fonts on your PC:
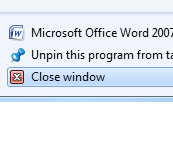
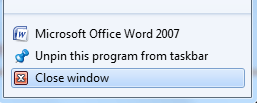
1) When you want to use the font in the program, close that window. For example, if you want to use the new font in MS-Word, you should close it.
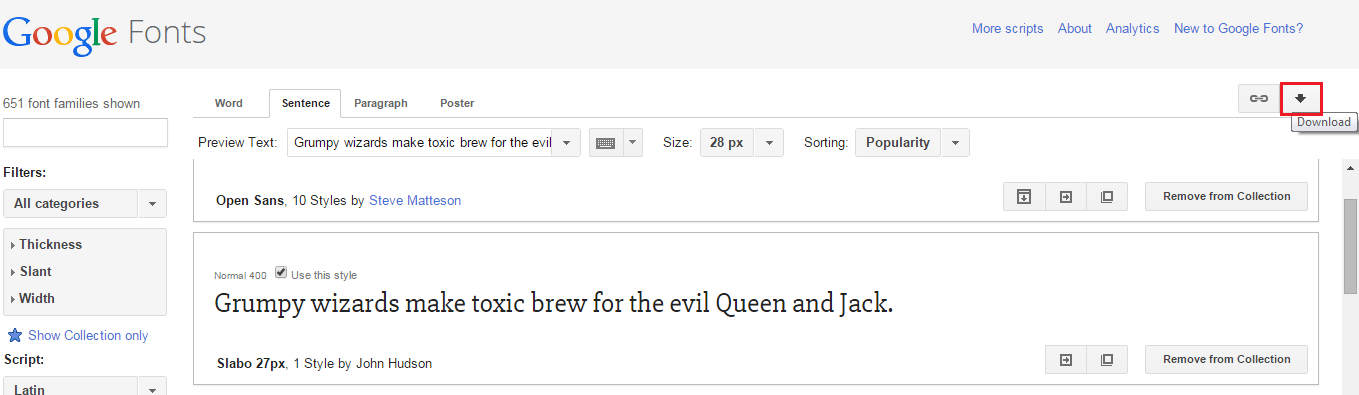
2) The next step is to download the font to your computer. You can download fonts from popular sites such as Google Fonts, 1001 Fonts, fonts.com and many more. An example of downloading fonts from Google fonts is shown here.
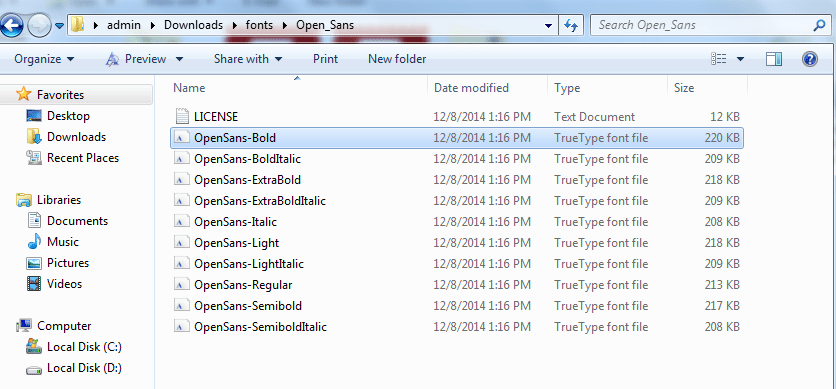
3) You will see a ZIP file downloaded in your Downloads Folder.
4) Extract the font file. It contains font files that can be installed on your system. Some of common file formats for font files are .ttf, .ttc and .otf.
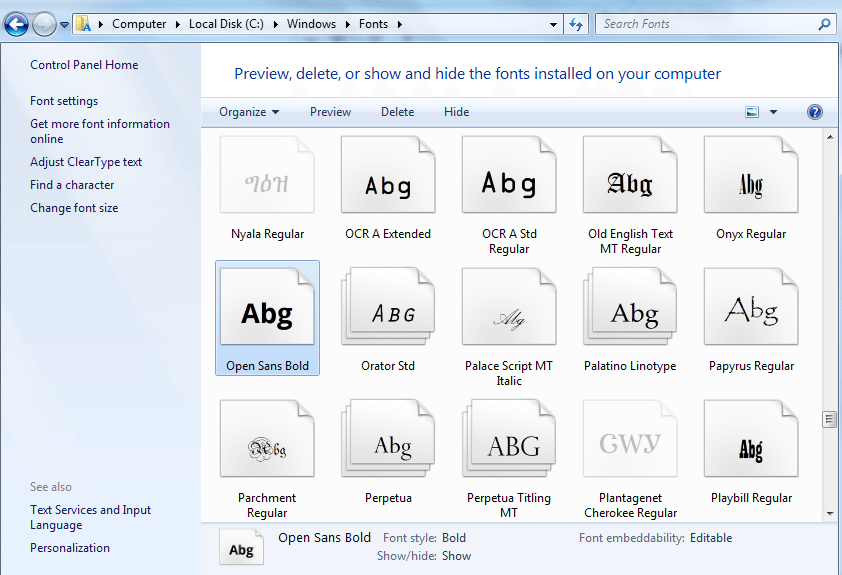
5) Now, open C:\Windows\Fonts and you will see a list of already-installed fonts’ files.
6) The next step is to drag and drop the font file in this Font folder and it will automatically install the new font.
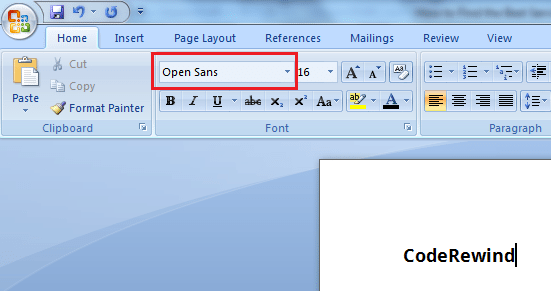
7) That’s all! Now, you will see the newly installed font in your available font list.
8) For example, MS-Word font now shows your newly installed font and is ready to use.
You can follow this process to install fonts on your PC of your choice. Which are your favorite fonts? Let us know your thoughts in the comments.