This post shows you how to use Remote Desktop in Windows 7 of your computer. These steps work for Windows 7 and the computer which you want to connect and control over the network must be one of these: Windows 7 Professional, Windows Vista Business, Windows 7 Ultimate or Windows Vista Ultimate. Remote Desktop Connection is a useful feature that allows you to control computers. It comes quite useful when you have a small office network with computers in different locations or when you have many computers in your home and want to work on them from one system. Fortunately, it is easy to set up and use remote desktop in Windows 7.
[leaderad]
These are the simple steps to follow for using remote desktop in Windows 7:
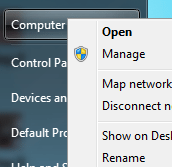
1) On the Windows Start Menu, Go to Computer> Right Click Properties

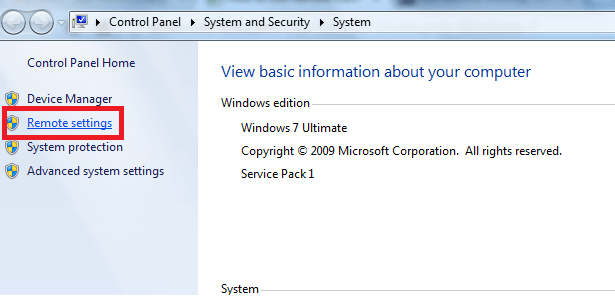
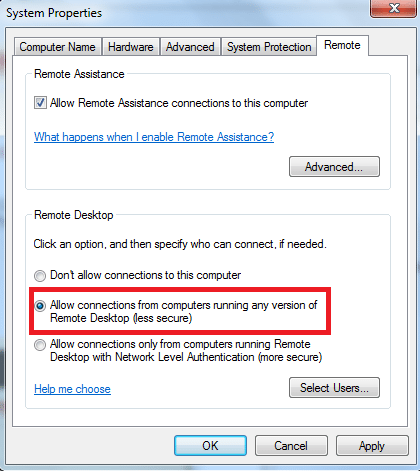
2) Navigate to Remote Settings
3) Click to Select allow users to connect remotely to this computer check box. Click OK or Apply.
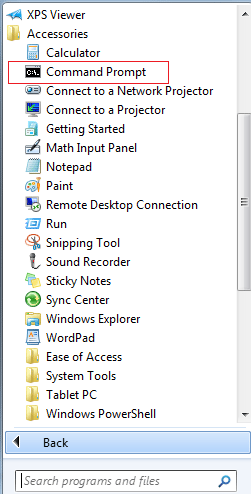
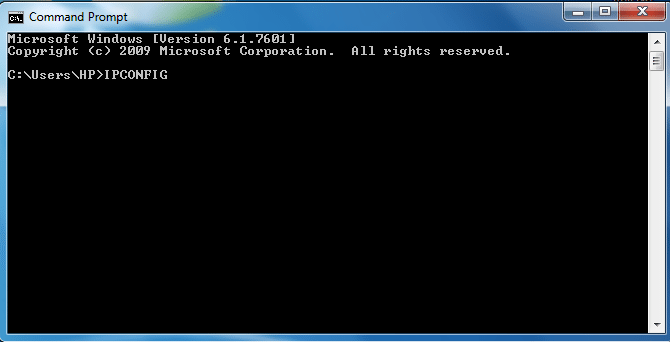
4) Now, you need to know IPv4 address of the computer. For this, go to command prompt.
5) Type IPCONFIG and enter. This will tell you the address of your target computer.
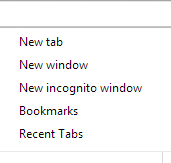
6) Now, the next step is to open start menu of your client computer and open Remote Desktop Connection.
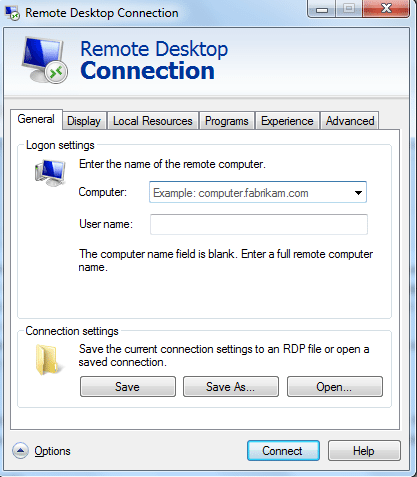
7) Type the IPv4 Address that we acquired from target computer in step 5.
8) Now, Windows will prompt use to enter the username and password.
9) You are done! Your computer can now be easily controlled using Remote Desktop Connection.
These were the easy steps for remote desktop in Windows 7. Please note that these steps work for connecting to each computer on the network in XP, Vista, and Windows 7. If you have any queries regarding Remote Desktop Connection or want to add something, do share your opinions in the comments!