Update: This also works for Windows 10 issue. And link to default windows 10 fonts are also at the end of this article.
When your day starts with a PC issue that’s certainly not a good sign. If you logged into your PC and noticed corrupt unreadable font on windows 8.1 or windows 8 machine and cannot read any text on the screen including your login password box, then this post will save you hours of troubleshooting.
Symptoms:
If you have this issue then your desktop or other screens might look something like the screenshot below with boxes and other unreadable characters.
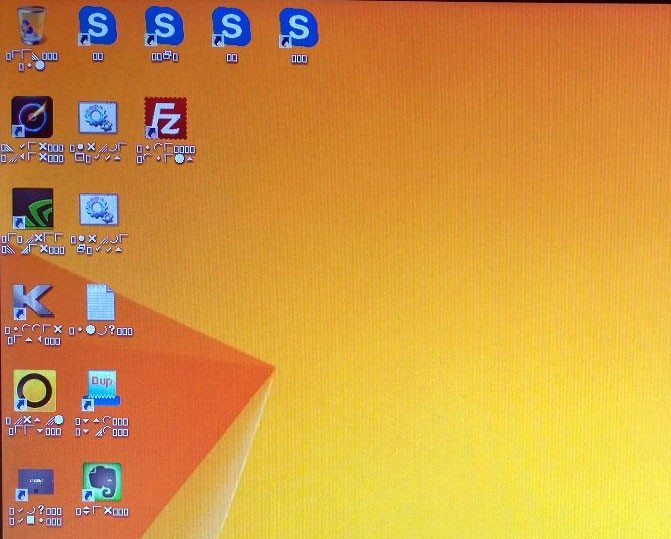
Even though you cannot read any text, all the images look good which is a good sign that nothing is wrong with the video card or screen resolution related settings.
Failed Troubleshooting Steps:
1. Tried restoring the default fonts using the windows 8.1 built in Restore default font settings button under Control Panel -> Appearance and Personalization -> Fonts -> Font settings
2. You might read in lots of places that for Windows 8 and Windows 8.1 lots of issues can be fixed by simply using the Restore your PC to an earlier point in time option. To access this feature, click on the Power icon in Windows 8 mode and hold down the Shift key and select Restart. System Restore doesn’t change your personal files, but it might remove recently installed apps and drivers. Unfortunately this does not restore the font files.
3. The other option is to Refresh your PC without affecting your files – But with this option Apps you installed from websites and DVDs will be removed. Windows puts a list of removed apps on your desktop after refreshing your PC. This is something you can try if want to spend time re-installing all the apps.
4. Tried calling @Microsoft and found that even though the OS is still under the 90 day warranty they cannot help me unless I open a premium support ticket with them. The reason was that this issue is an advance issue which requires premium support. So good luck with that.
Solution That Worked:
Step 1: Get a clean copy of windows 8 fonts
There are 2 ways to get a clean default copy of windows 8/8.1 fonts
1. Copy the contents of a C:\Windows\Fonts directory from a PC that does not have this problem and paste them into the machine C:\Windows\Fonts directory using a USB drive or external hard drive. You can also copy the files directly on the desktop or any temp folder on affected machine. If you cannot find another clean machine to copy the fonts, follow step 2a or 2b depending on your Operating System.
2a. For Windows 8.1 Download the Windows 8.1 Default Fonts from here and extract it to your desktop..
2b. For Windows 10 Download the Windows 10 Default Fonts from here and extract it to your desktop..
Step 2: Create a backup of Fonts registry hive
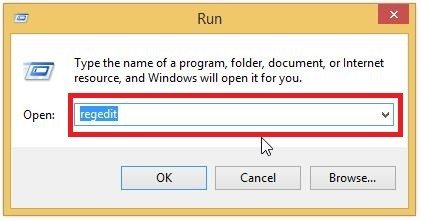
1. Open the Registry Editor by typing “Regedit” without quotes in the run prompt. You can open the run prompt by using Window Key + R on the keyboard
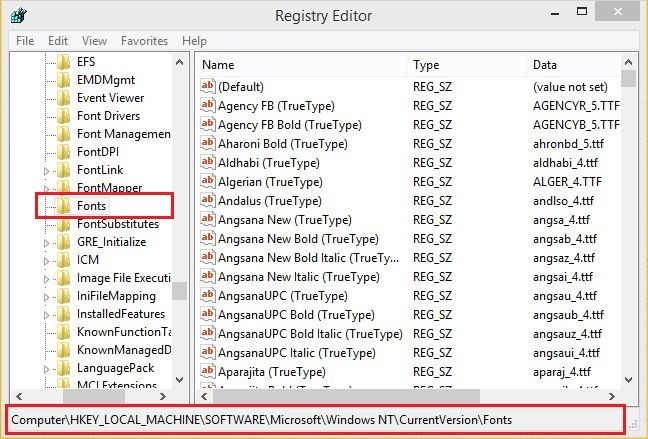
2. Navigate to HKEY_LOCAL_MACHINE\SOFTWARE\Microsoft\Windows NT\CurrentVersion\Fonts and click the File -> Export option to save a backup.
Step 3: Remove the existing Fonts hive
After taking a backup of the fonts hive, make sure Fonts hive is selected and delete the entire Fonts hive. This is a very critical step for this solution. If you skip this step and do not delete this registry hive and simply copy the font files, after you reboot your machine you might have the same issue. So this step is very critical to fix this issue.
Step 4: Restore the default font files we downloaded in Step 1
1. Copy the contents of the font files that we got from Step 1 to C:\Windows\Fonts directory of the affected machine. This step will prompt you to confirm if it can continue to install all font, you can safely choose ok and let it continue with the install. This will install all the fonts and register all the fonts in the registry in the same Fonts group we just deleted in Step 3.
2. You can also install the font by selecting all the font files and then right on the selected list and choose the first option that shows the UAC (User Account Control) icon.
3. Reboot the machine after copying the font files even though you might notice that the text is now become readable almost everywhere.
4. After reboot verify that you can still see the text in readable format.
Final Thoughts:
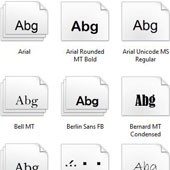
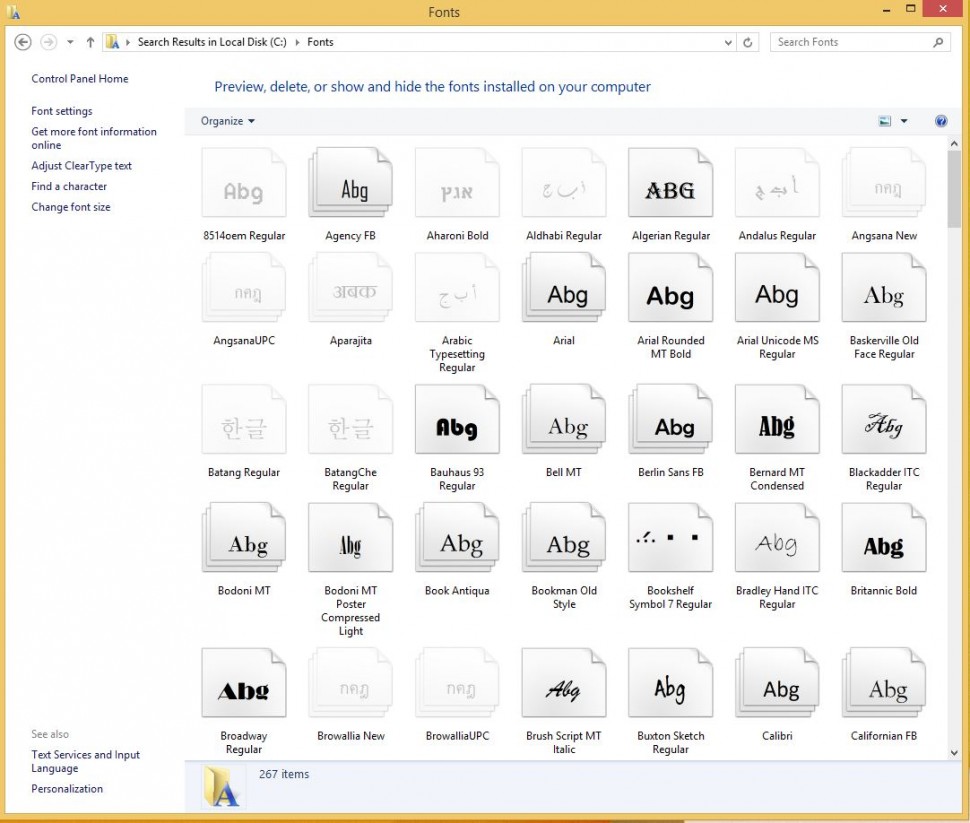
One last check after restoring all the font files, open C:\Windows\Fonts folder, and your fonts windows should look something like the screenshot below with the list of fonts you just installed.
If you tried this solution and has worked for you or have tried another solution that worked for you, please consider sharing, leaving a comment or subscribing to the RSS feed to have future posts delivered to your feed reader. Please follow us on twitter @CodeRewind