I was at the code camp this weekend and met a lot of great speakers and developers #PhillyCC who are motivated to change the the world, like bringing world peace, cure hunger and poverty. Sorry, it’s just my wish. Over at the code camp I attended a session “Creating iOS and Android Native Mobile Apps in C# with Xamarin Studio” and I was thoroughly engaged by the content. And here is a chance to get a free C# T-Shirt for all who want to just try Xamarin Studio, yes no buying, just trying.
You can follow the presenters on twitter (@GShackles, @brentschooley, @JamesMontemagno). In order to get the free shirt as per this offer http://xamarin.com/shirt here is what you can do. In short you have to install Xamarin Studio, download their xamarin store app, build and run on any platform of your choice and complete the order through their app. I choose to run it on an android platform as apple SDK requires a valid apple developer license. So this post will cover how to get the code running on Android emulator. To get started download the Xamarin Store app project and extract the files.
If you happen to work on a Mac with Xamarin Studio here is how you can setup your development environment to get started. Although you can follow the same steps for the Windows Device.
1. Head to http://xamarin.com/download and download the PC or the Mac version and install it.
2. Now Download VirtualBox and run the Installer. You don’t have to run VirtualBox after installing. We need this to configure GenyMotion which provider Android emulators that works blazing fast as compared to what comes in the Android SDK.
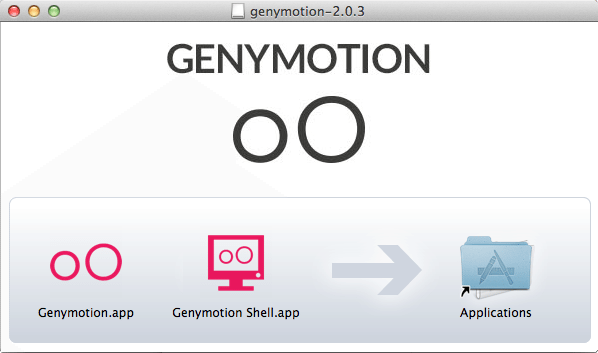
3. Next, register at GenyMotion and download the installer for your platform. On OS X, open the .dmg and install Genymotion by dragging Genymotion and the Genymotion Shell to your application directory. On Windows, simply run the installer and proceed through the dialogs.
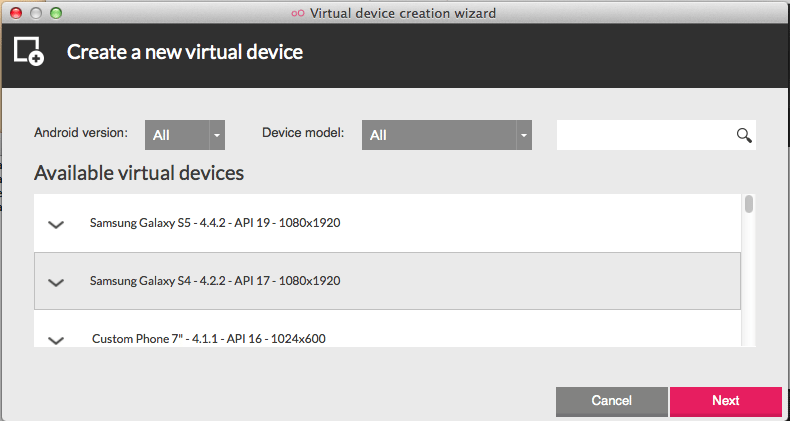
4. Run Genymotion and log in with your Genymotion account to access the list of pre-configured devices. Pick your desired Android version or device and start downloading the device image.
This image shows the list of wide range of available emulators that we can setup.
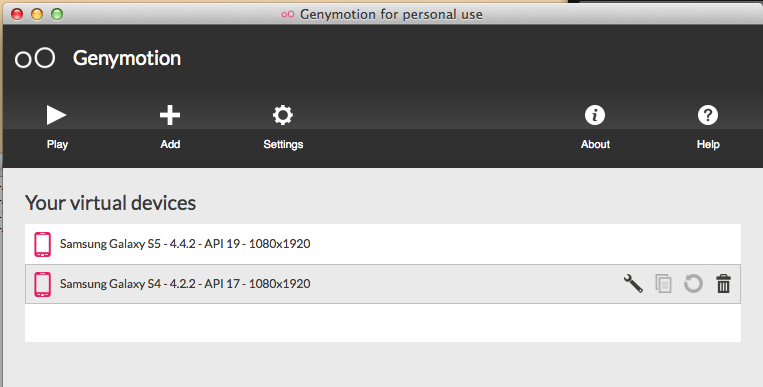
5. Once you have added your choice of emulators it should be available you for you run your app. But before that couple of minor settings. Pick the emulator you want to test with and click Play icon.
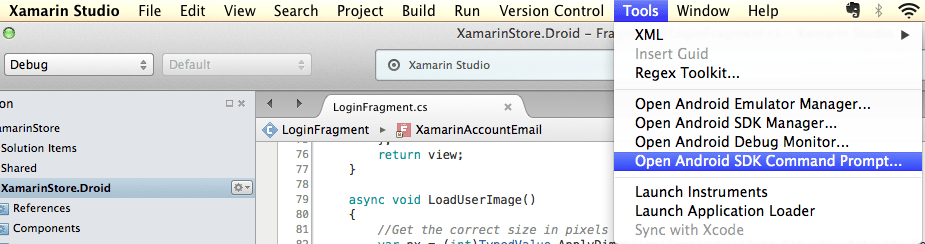
6. Now lets bridge the Xamarin Studio with GenyMotion Emulator. To do this open Xamarin Studio -> Tools -> “Open Android SDK Command Prompt…” and run this command “adb connect 192.168.56.101“. This will make the GenyMotion emulator available in the Xamarin Android emulators list.
7. Make sure your Minimum Android Version matches with the Genymotion device you are running. To verify or setup this, In Xamarin Studio open the android project properties and set the Minimum Android version property under Build -> Android Application
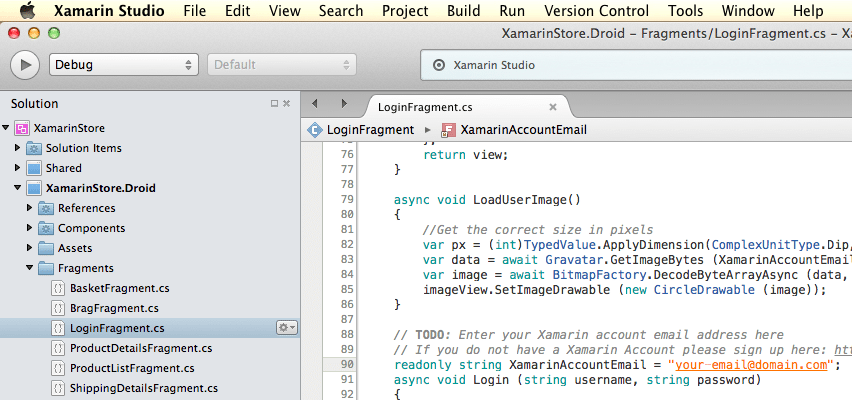
8. Now, open the Xamarin Store project solution you downloaded in the beginning and under the XamarinStore.Droid project -> Fragments -> LoginFragments.cs file replace the string XamarinAccountEmail with your registered email.
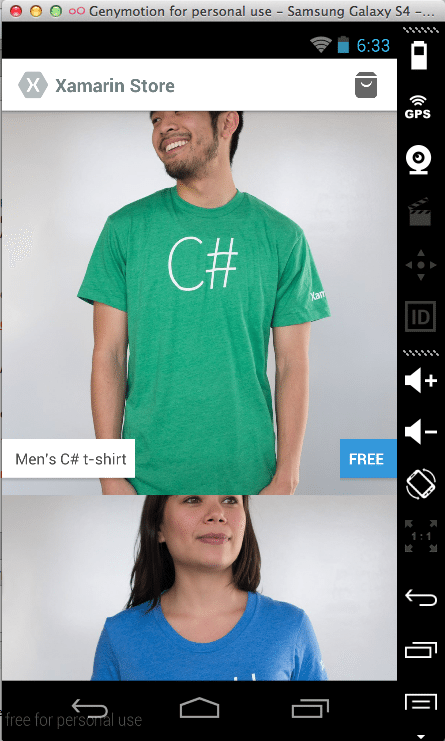
9. All set, Select the build configuration to Debug and Run the project the Android project. It will prompt to select an emulator. If you followed the above steps, your GenyMotion emulator should show up in the list, select and click “Start Emulator“. Open the GenyMotion Emulator window and complete the checkout using the XamarinStore App.
Please post your comments or questions about your first experience with Xamarin Studio.
If you enjoyed this post, please consider sharing, leaving a comment or subscribing to the RSS feed to have future articles delivered to your feed reader.